Yosemite National Park is one of California’s National Parks. East of San Francisco, in the Sierra Nevada mountain range, Yosemite is blessed with a dynamic typography, which lends itself to glorious vistas and diverse landscapes. From the wild meadows, to the giant sequoias, and crazy-huge rock formations, Yosemite will draw you in and keep you fascinated. Visiting Yosemite National Park on this 2 day itinerary will give you a great taste of the best of the park.
A Weekend in Yosemite
I recommend spending 3 nights in or near the park, with 2 full days to explore. There are 5 ways into Yosemite – the 120 / Big Oak Flat Road from Groveland, the 140 / El Portel Road from Mariposa, the 41 / South Entrance from Oakhurst, the smaller Hetchy Hatch Road, and the seasonal route over the Sierras, Tioga Pass.
We have driven every entry/exit road, and they all have their pros and cons. On a 3 night / 2 day visit to Yosemite, you can choose a few different routes to explore, to make the most of the different views of the valley.

Where to stay in and Around Yosemite
Groveland
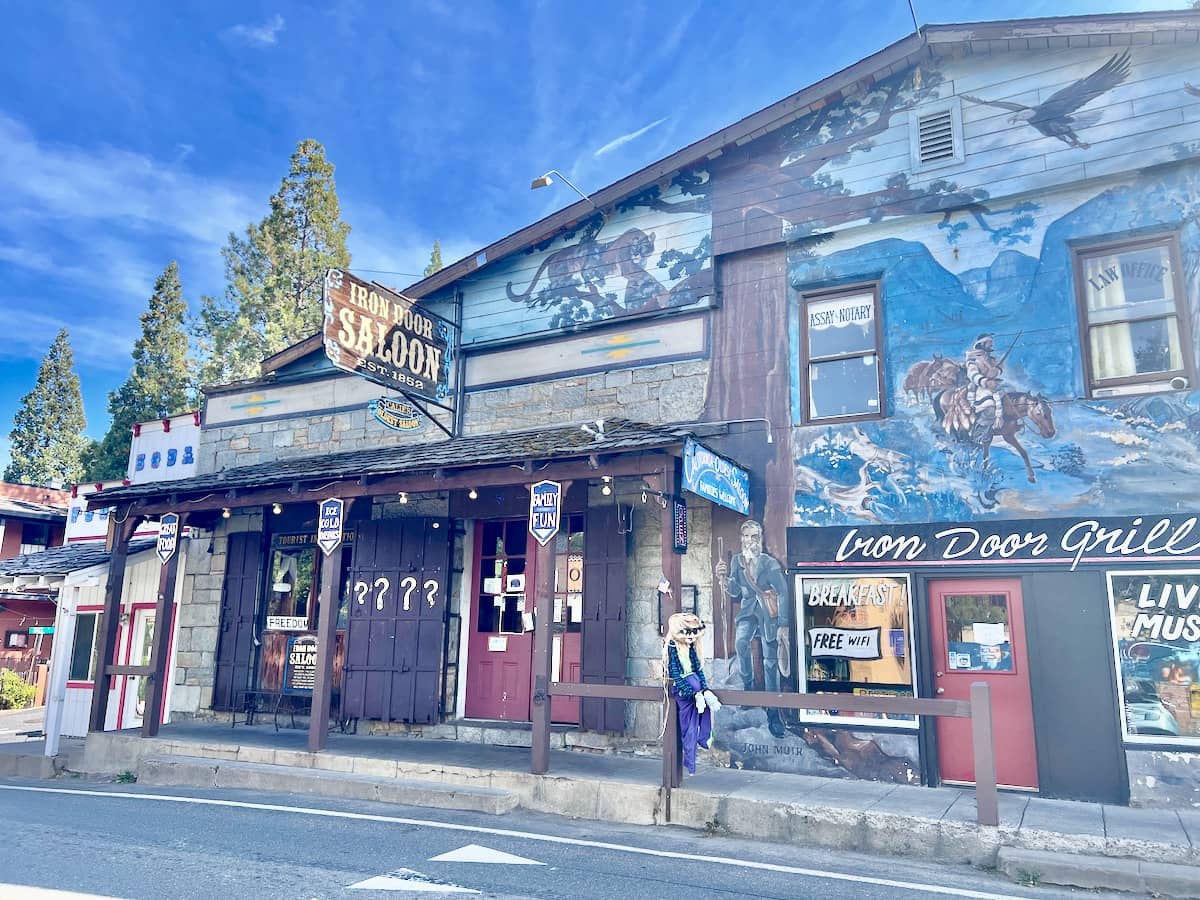
Groveland is your northernmost town option. Directly east of San Francisco, it’s a cute small town with a few cafes, a food market, a saloon and couple of hotels. For accommodation here, try the Groveland Hotel in town, or Inn at Sugar Pine Ranch for a peaceful forest setting.
Mariposa
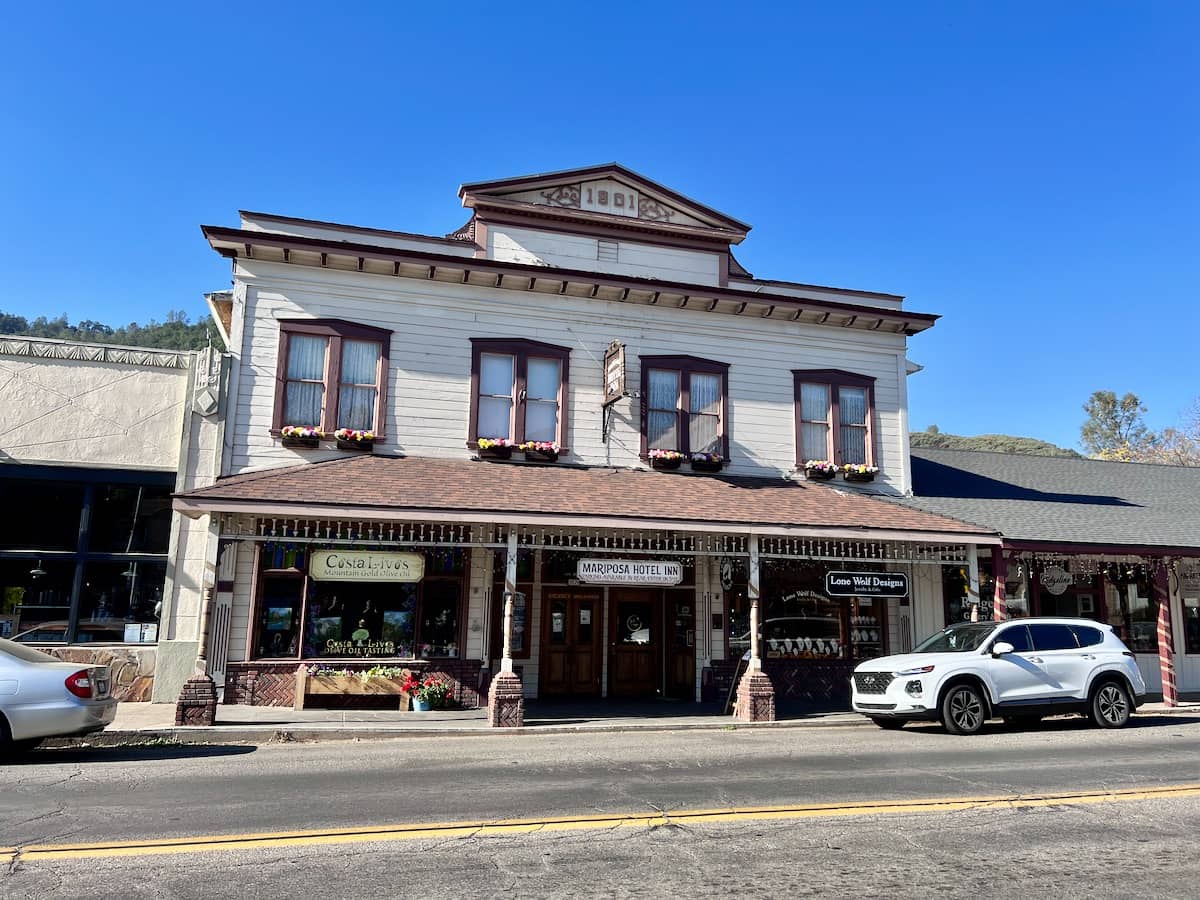
Mariposa has an absolutely darling downtown. With lots of shops, a deli, hotels and artisans, it is bigger than Groveland and very cute. For a historic hotel option, try the Mariposa Hotel Inn on main street. If you’re looking to rent an entire house, the Yosemite Firehouse Inn is a gorgeous period home in the hills between Mariposa and Oakhurst.
Oakhurst
Oakhurst is the biggest of the 3 satellite towns, and the least charming. But, it does offer a lot of amenities and motel options, which is why we chose it. We stayed at the Oakhurst Inn at Yosemite, a simple but clean 2-star motel. The breakfast was the typical motel powdered eggs and waffles, but the beds were comfortable and there was plenty of parking. We had a fantastic curry down the road at Tandoori Express.
Other Oakhurst accommodation options include the usual chains: Fairfield Inn & Suites by Marriott Oakhurst Yosemite, Holiday Inn Express & Suites Oakhurst, and Best Western Plus Yosemite Gateway Inn. For a lodge style hotel further out of town, try Sierra Sky Ranch or Queen’s Inn by the River.
Countryside Lodges
There are lots of cabins, lodges and holiday homes on the roads into Yosemite, so if you don’t mind being away from amenities, these are a lovely option surrounded by nature. Vacation homes like Arrow Lodge in Wawona, or the mountain resort Tenaya at Yosemite at Fish Camp.
Inside the Park
Inside the park, along the valley floor, and connected by the shuttle bus, you’ve got Yosemite Valley Lodge (cheapest, but basic), and the historic Ahwahnee, with views of Half Dome, Glacier Point and Yosemite Falls. You will pay over the odds for staying in the valley, but if you don’t enjoy driving the winding roads in and out, these could be the option for you. We love the road trip aspect, so didn’t mind not staying in the valley village itself.

2 day itinerary for yosemite National Park
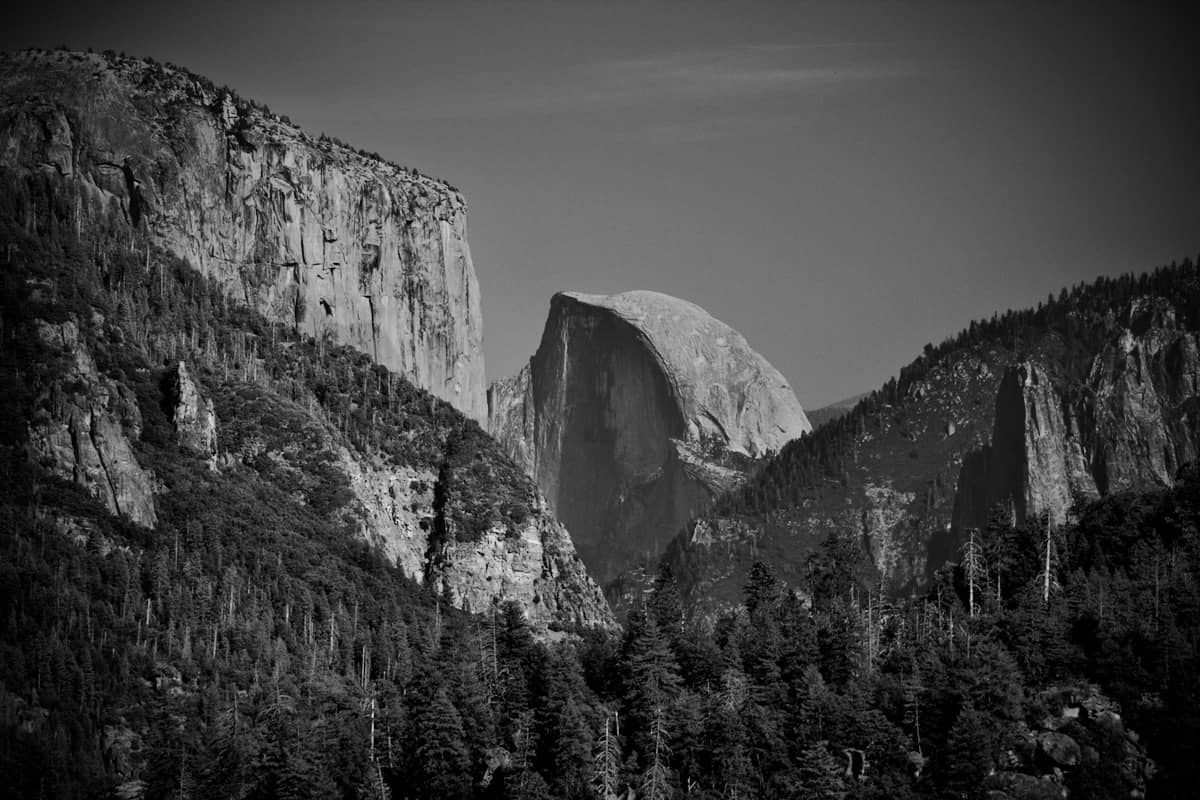
If you are coming from San Francisco, leave in the morning and take the road into Yosemite from Groveland. It’s a magical, yet hilly, drive that will reveal the Yosemite Valley to you slowly – with peeks of Half Dome from Prady’s Viewpoint as a treat for your patience. Choose accommodations in Mariposa, Oakhurst or in the park, so that your first visit into the National Park is part of the journey. The more time you have at different times of the day, the better your visit will be.
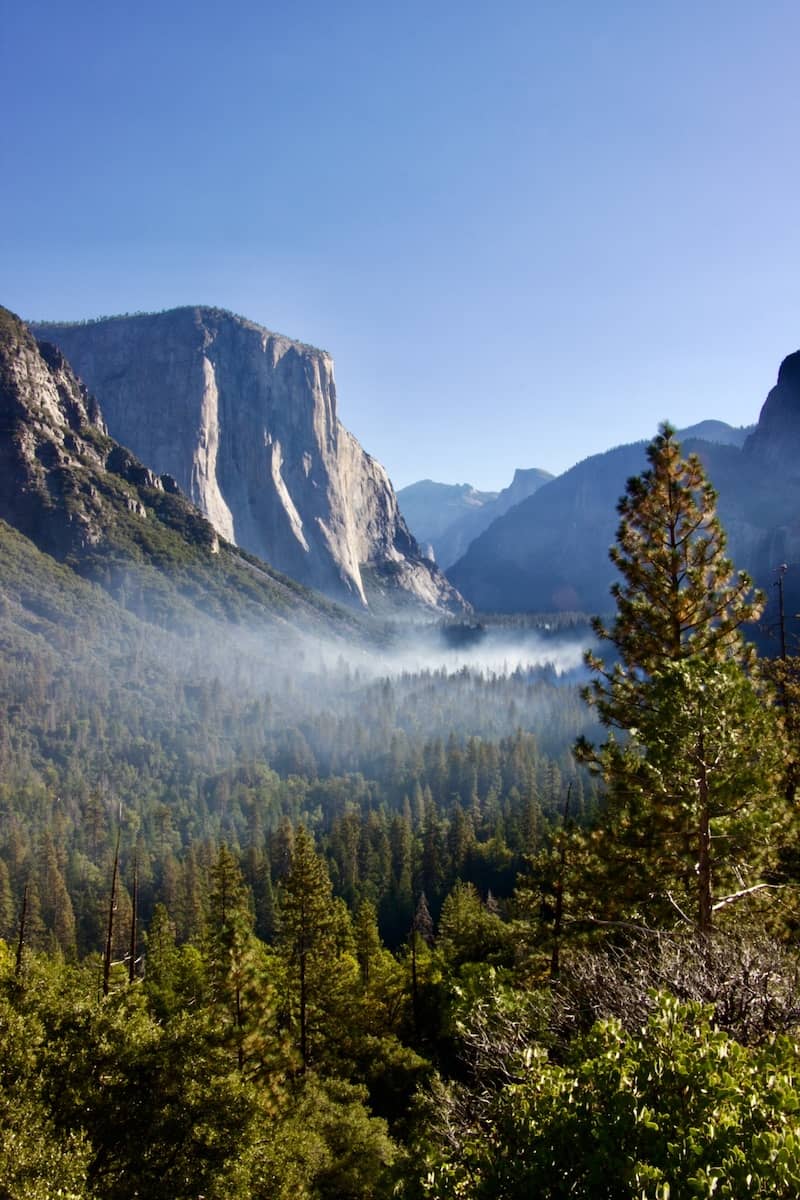
We arrived mid afternoon in October, and did a loop of the valley before heading out via Tunnel View and the Wawona road to Oakhurst. Seeing Tunnel view in the early evening was a joy, because it looked so different by the following morning when we stopped again!


Day 1: Tunnel View, Bridalveil Falls, Yosemite Village, Yosemite Falls & El Capitan
Your first full day in the park will be spent in the valley floor. A one-way loop running either side of the Merced River allows for safe sightseeing for those who want to drive slowly, and two lanes for those just transiting. There are also shuttle buses that run various routes around the valley between April and November.
NOTE: If you visit between December – March, be aware that many of the roads close seasonally (Glacier Point, Tioga Pass).
Tunnel View
Tunnel View is located just after the Wawona Tunnel on the Wawona road from Oakhurst. While the bigger of the two carparks is on the eastbound side (towards the park), there is a small carpark on the other side of the road for those leaving the park. This carpark also services the Artist Point Trail.
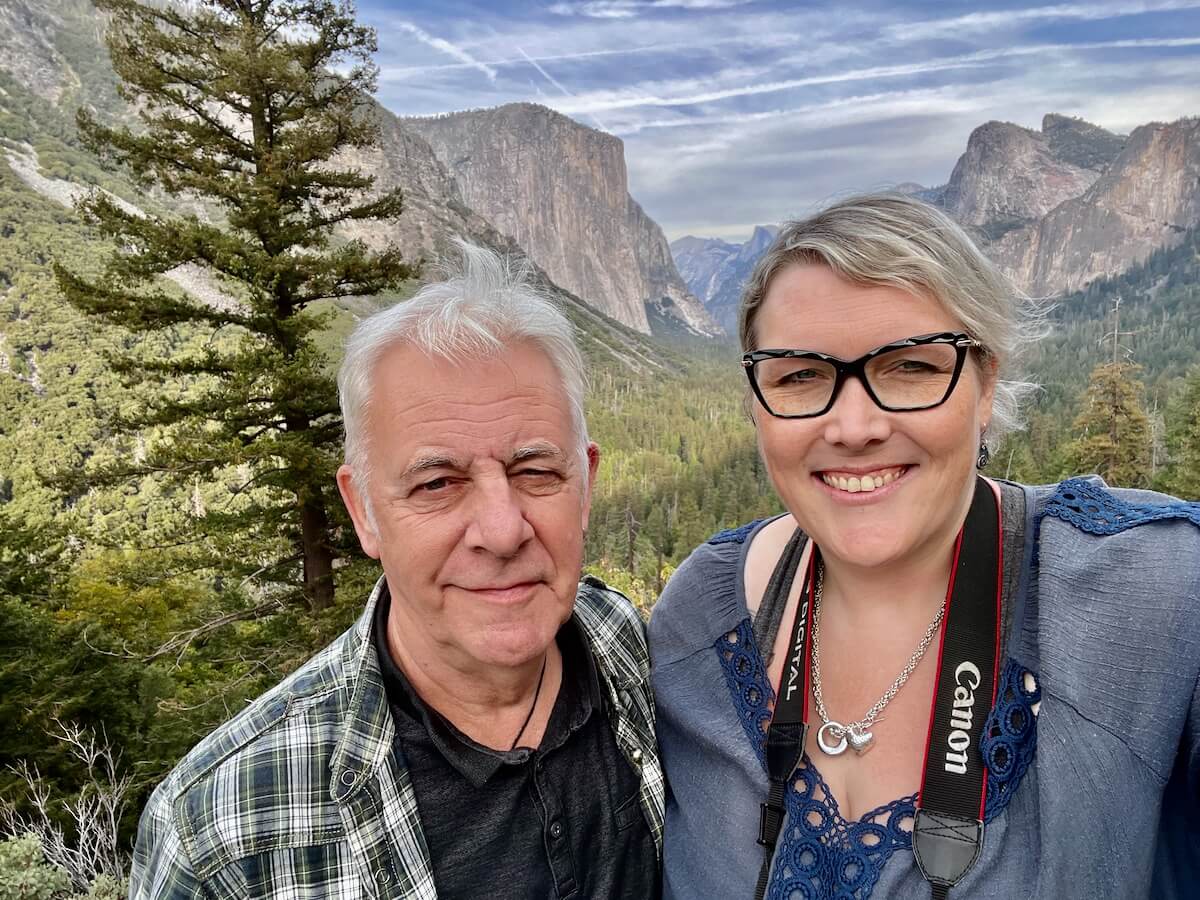
Tunnel View is famous for a reason. At enough elevation to get a clear vista across the treetops, but low enough to appreciate the sheer scale of the rock formations along the valley, it is a viewpoint you really shouldn’t miss.
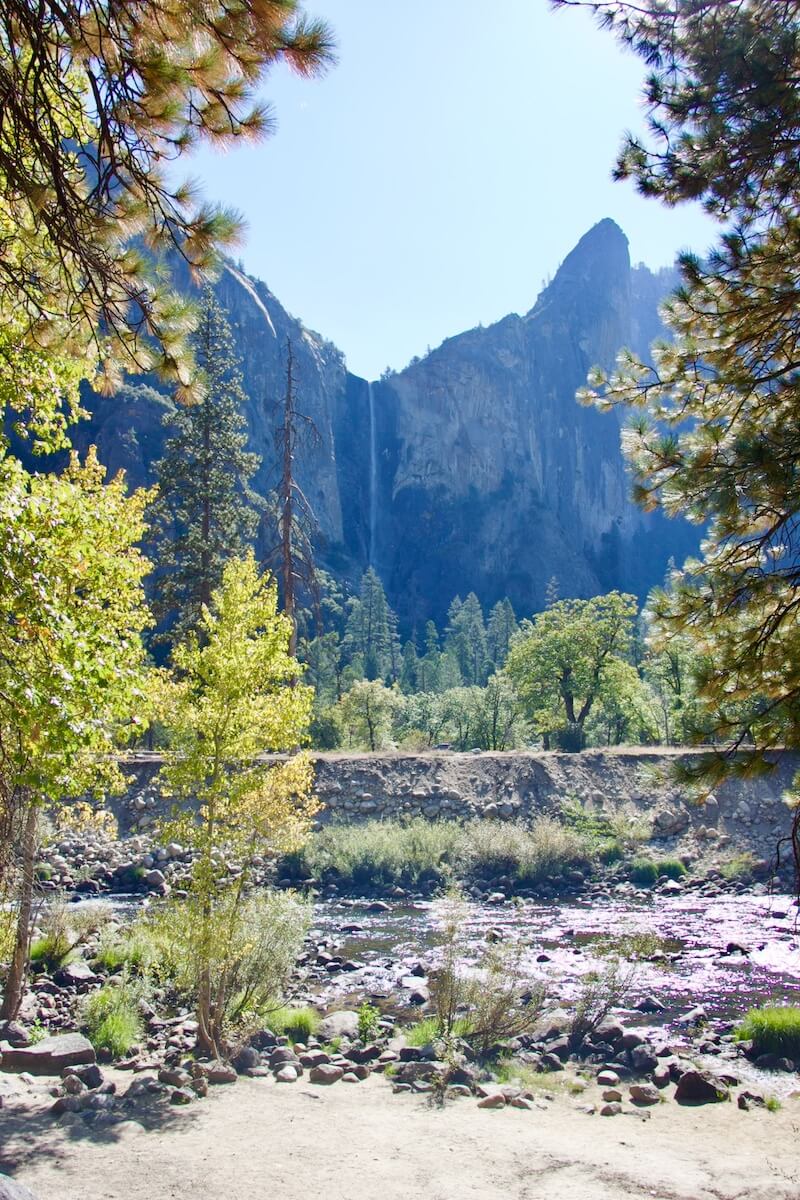
Bridalveil Falls
Bridalveil Falls is a very accessible waterfall walk, which isn’t far from the road and shuttle stop. Pouring over the rock face, depending on the time of year, in varying levels of power, it’s an easy stop for those with mobility issues.
Yosemite Village
Yosemite village offers a good amount of parking, so if you are visiting in summer, head straight here and utilise the shuttle service around the valley for a stress-free and easy way to visit many of the trailheads.
There is a starbucks, canteen and amenities, alongside a couple of hotels and camping. There is also a tourism office, where you can book your open air tram tours of the valley. In summer, partaking of these traffic-saving tours and the shuttle is a great way to avoid the traffic jams and parking issues.
We visited in mid-October and the parking was ok, but on sunny days, still busy.
Lower Yosemite Falls
I loved the easy and pretty Lower Yosemite Falls trail. A low elevation and only a small incline (with the option to scramble over some rocks near the falls if you fancy it), it is a great place for spotting chipmunks and admiring the trees.
The long avenue up to the falls is very photogenic, especially when the falls are in full flow. Be sure to wear good shoes if you are going to scramble on the rocks below the falls, and do not risk it in the wet or if the falls are running fast.
El Capitan Climber-Spotting
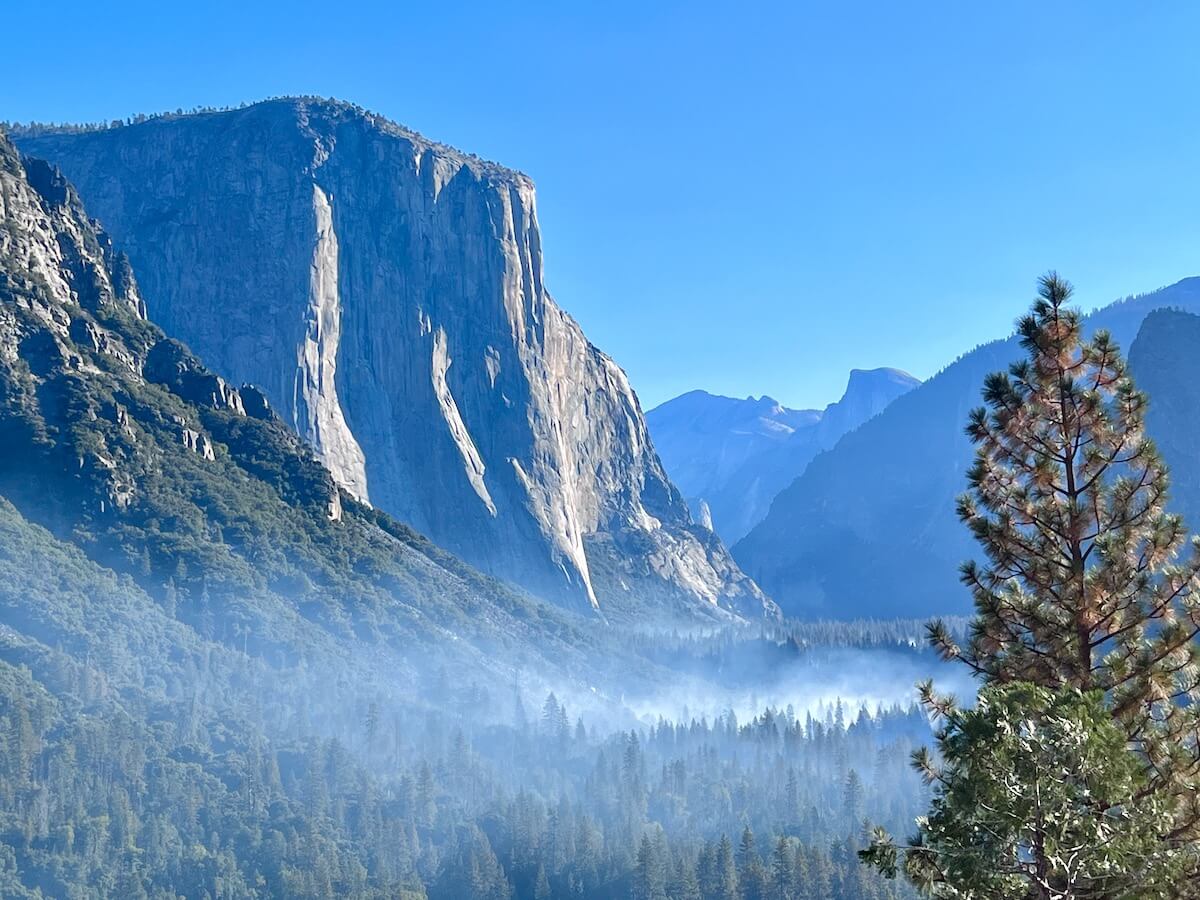
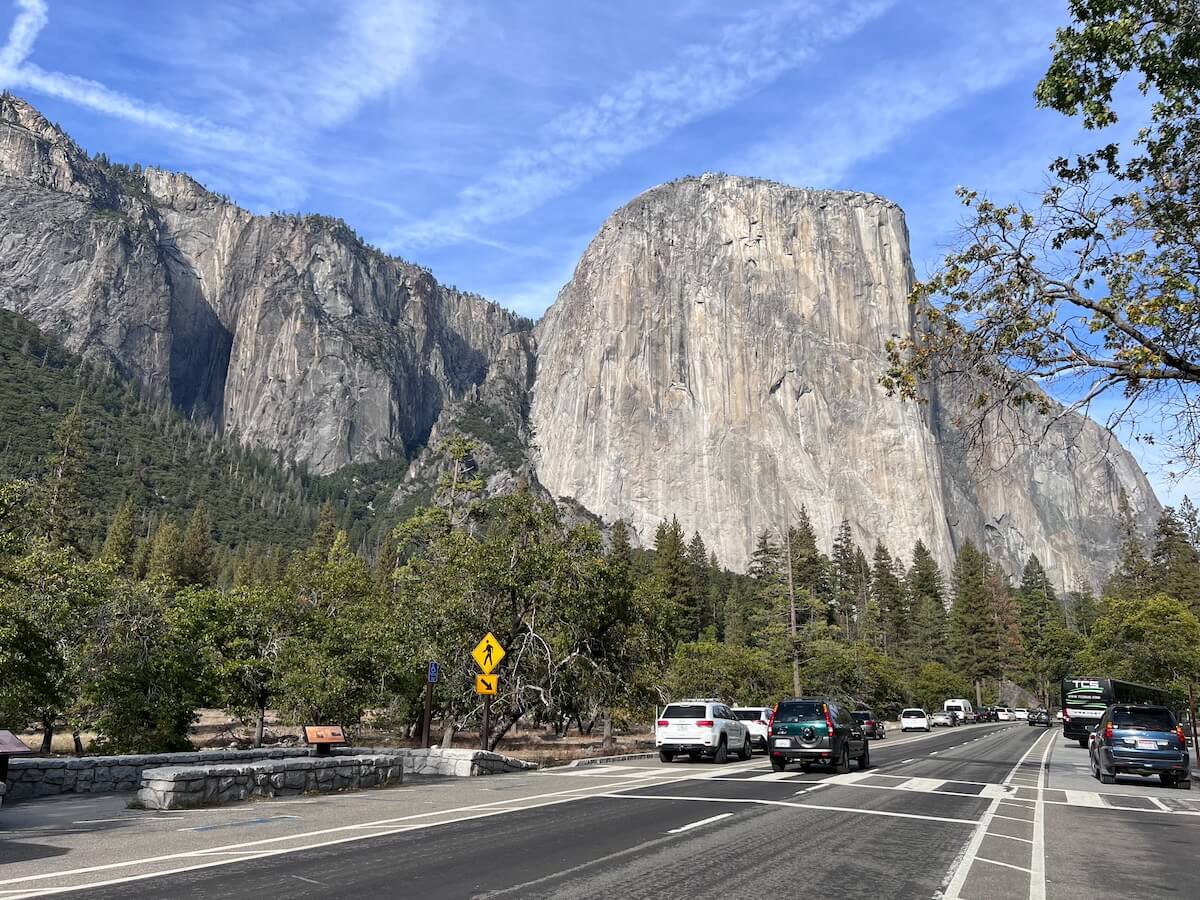
El Capitan is probably the most famous climbing location in Yosemite. The sheer face is huge and daunting for those of us ground-dwellers! The vertical striations of El Capitan make it look even more vertically magnificent.
As we drove around the valley loop road, we noticed a bunch of people sitting near the road, on picnic chairs, looking up at El Capitan. We realised they were watching climbers on the rock face. We stopped for a time to look for ourselves, at these tiny dots way up the rock. But we didn’t stay long, because it kind of gave us vertigo!




Day 2: Sugar Pine Railway, Mariposa Grove, Glacier Point Viewpoint & Sentinel Dome
Sugar Pine Railway
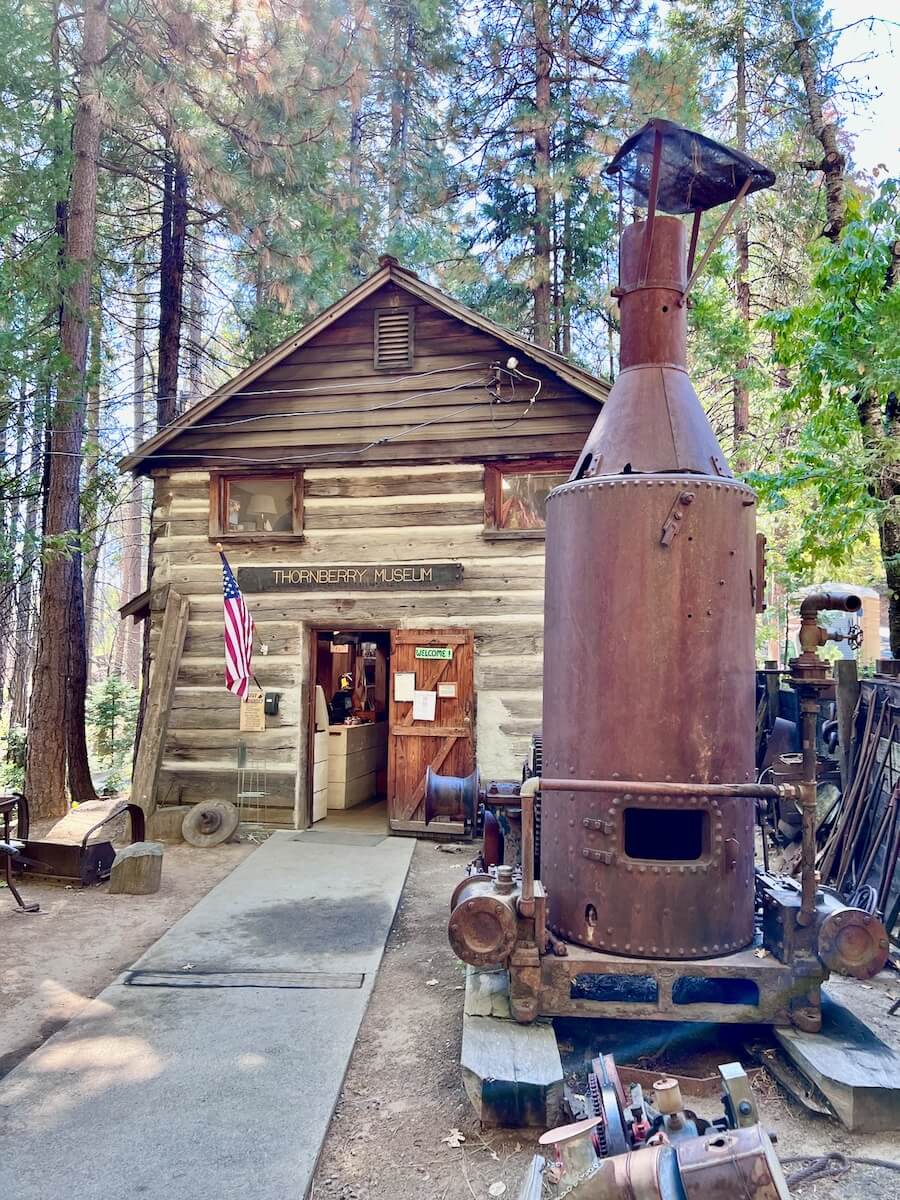
Start your day on the Sugar Pine Railway (on the road from Oakhurst towards the park). Built to help with logging in the area, this gorgeous narrow gauge railway is now a tourist train. You sit on huge log seating as it puffs its way up Mill Canyon.
You must book in advance, as tickets are limited. We managed to get tickets 2 days ahead of time, but we visited in October, so there was less demand. There are morning sessions, starting at 9:30, and they ask you arrive in plenty of time, for picking up tickets, safety and boarding.
The ride was lovely and gentle, and the best part was that the railway is dog-friendly, so we had the company of two lovely mutts sitting near us. Other neat things onsite include gold-panning, a museum, and hands-on workshops showing the pioneer way of life. It is a very chilled way to start the day!
NOTE: Like many things in Yosemite, and the Sierras in general, the Sugar Pine Railway shuts down over winter.



Mariposa Grove
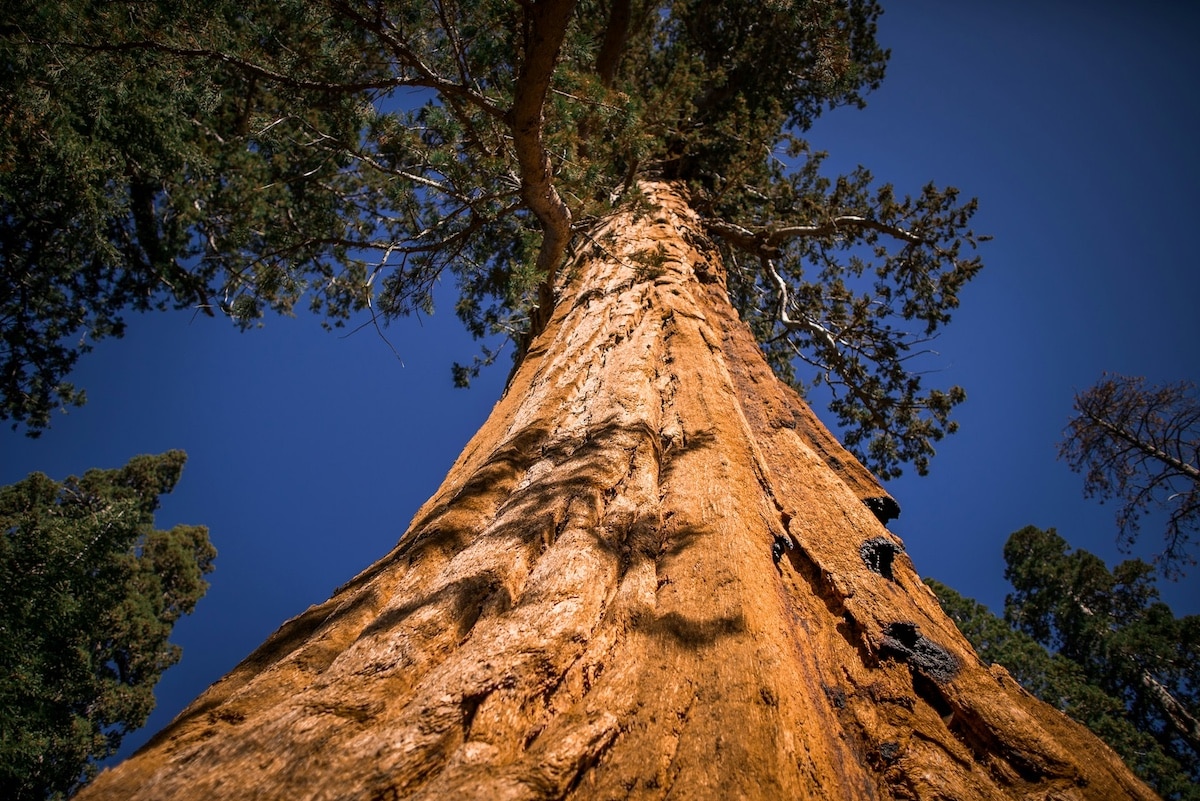
Your next stop is at Mariposa Grove, to take a walk through a Giant Sequoia grove. The visitor centre is just inside the south entrance to the park.
The shortest hike is 0.3 miles (0.4kms) to Fallen Monarch – a huge fallen sequoia that gives you a different perspective to understand the sheer size. The hike to The Grizzly Giant is 2.0 miles (3.2 km) includes Fallen Monarch, Bachelor & Three Graces, Grizzly Giant, California Tunnel Tree.
There are further loops, such as the Mariposa Grove Page, which is 7.0 miles (11.3 km) round trip, for those who want a lengthier hike.
Bring a picnic lunch and eat it at one of the many picnic spots in the park. Remember to haul out all your trash, or use the bear-safe bins provided to dispose of rubbish and food waste.


Glacier Point (seasonal)
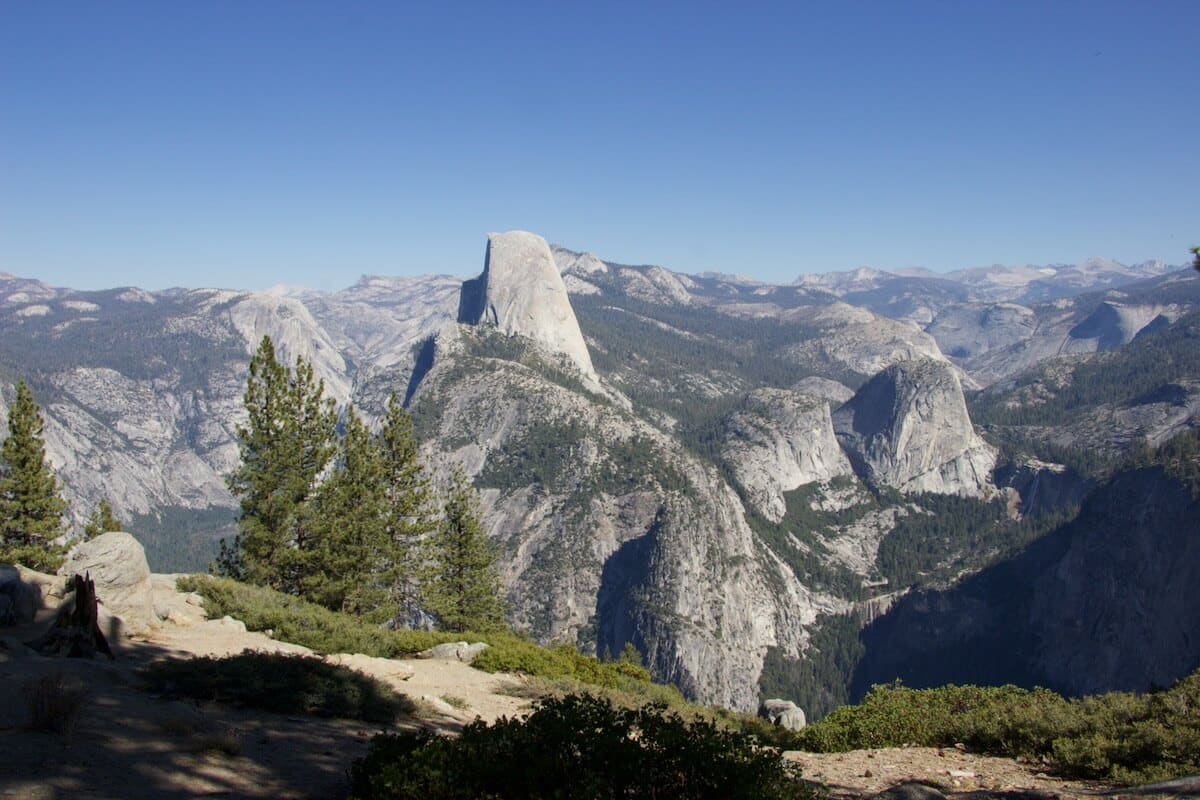
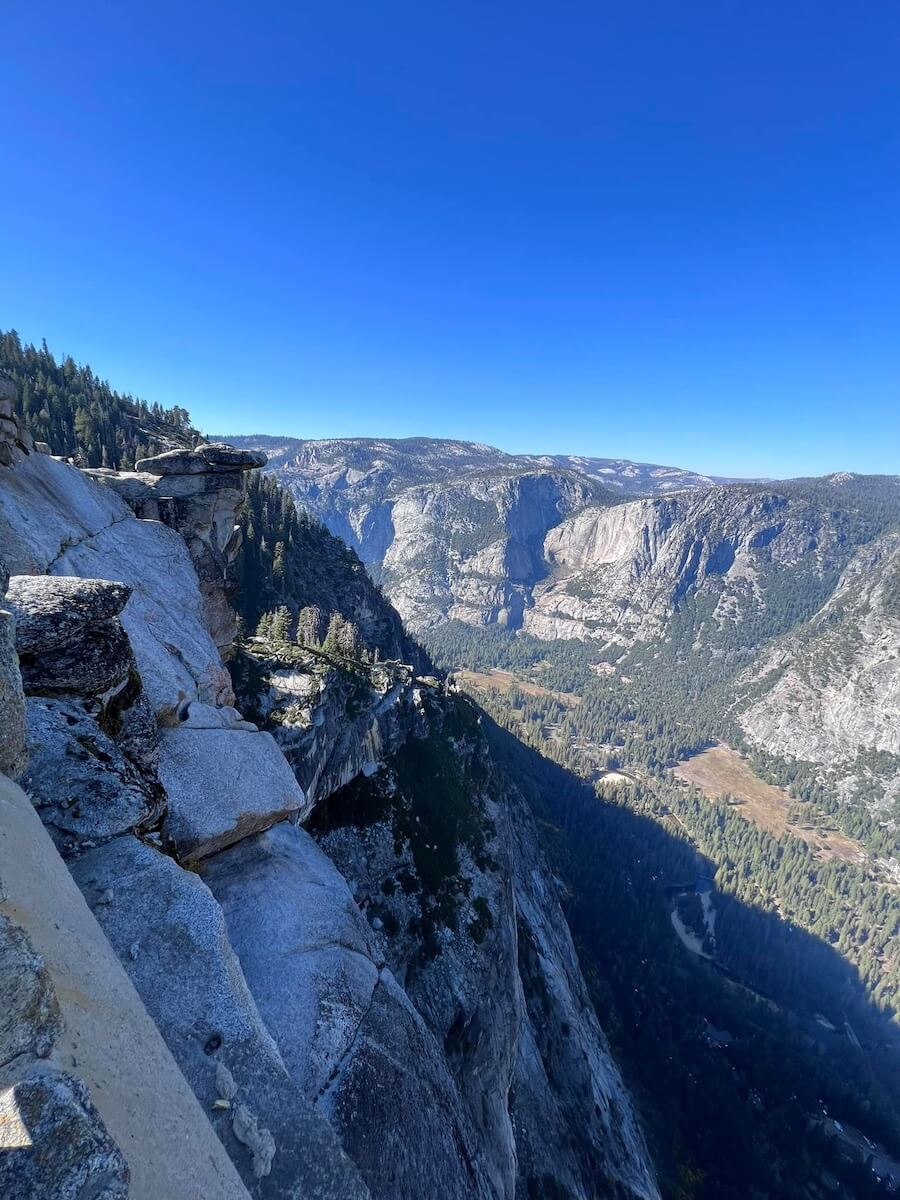
Glacier Point offers some of the most famous views of the valley and of Half Dome – where you are able to look across the valley straight it this incredible rock. The road is closed in winter, and the exact closing and opening times depend on snow fall, ice and conditions.
Your first stop is Washburn Point, where you can see over to the rounded side of Half Dome, and along to the Illilouette Valley.
Further along the ridge is a large carpark for Glacier Point. It does get super busy, but be patient, as spots open up regularly. In summer, choose to take the shuttle bus to avoid the crowds.
Glacier Point is a series of amazing view points, trails and vistas that offer multiple angles from which to see the valley. The most startling is from the farthest viewpoints that overlook Yosemite Village – the sheer drop down from the lookout is crazy. I felt my legs turn to jelly, despite the sturdy and high railings in place!
We stayed over an hour, walking, marvelling and taking in every angle from this stunning viewpoint. Seeing the valley from this angle is one very good reason to visit between May – October, when the road is open. Keep an eye on the NPS website for alerts though, as the road can close at any time due to inclement weather.
Sentinel Dome Hike (optional / Seasonal)
If you’re feeling energetic, the short but steep Sentinel dome hike offers more fantastic views. At 2.2 miles / 3.5 km for the round trip, it’s not a long hike, but you get to experience views from one of the rock formations. The trail takes you around the side of the dome, to an easy path to the top.
Wear good shoes and always take care when hiking, even these easier trails.


3 days in Yosemite – added extras
If you have 3 days in Yosemite (or decide to cram lots into your 2 days), add these extra activities…
- Mist Trail & John Muir Trail – These iconic hiking routes offering views of Vernal and Nevada Falls, with Mist Trail being steep and scenic, and John Muir Trail providing a gentler descent.
- Dead Giant Tunnel Tree – A famous felled sequoia with a carved tunnel, located along the Tuolumne Grove Trail. Note, this is a hiking trail, and you can’t drive through this tunnel tree.
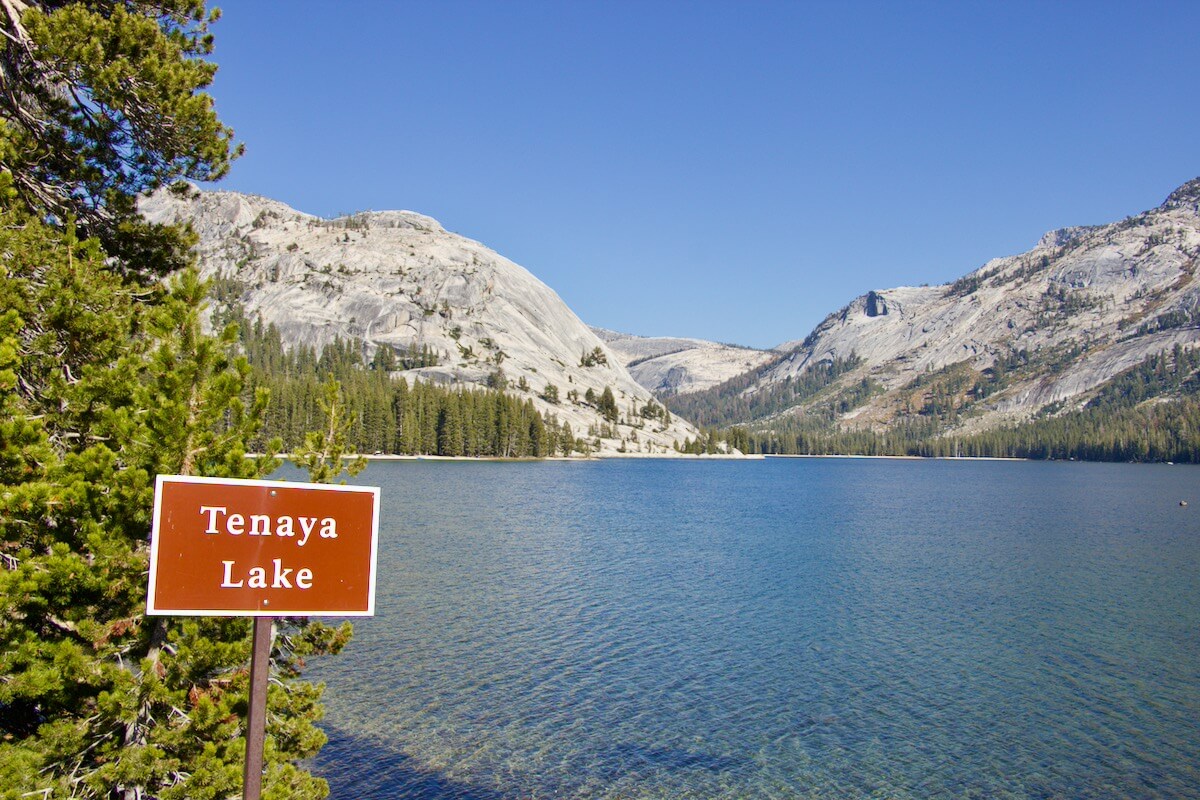
- Tenaya Lake – A serene alpine lake perfect for picnicking, kayaking, or enjoying reflections of surrounding granite peaks.
- Tuolumne Meadows – A sprawling subalpine meadow with wildflowers, hiking trails, and views of the Sierra Nevada. I recently read an amazing article about the Basque sheepherders who once roamed these landscapes – “In the summer of 1870, estimates suggest as many as 15,000 sheep grazed in Tuolumne Meadows.” – wow!
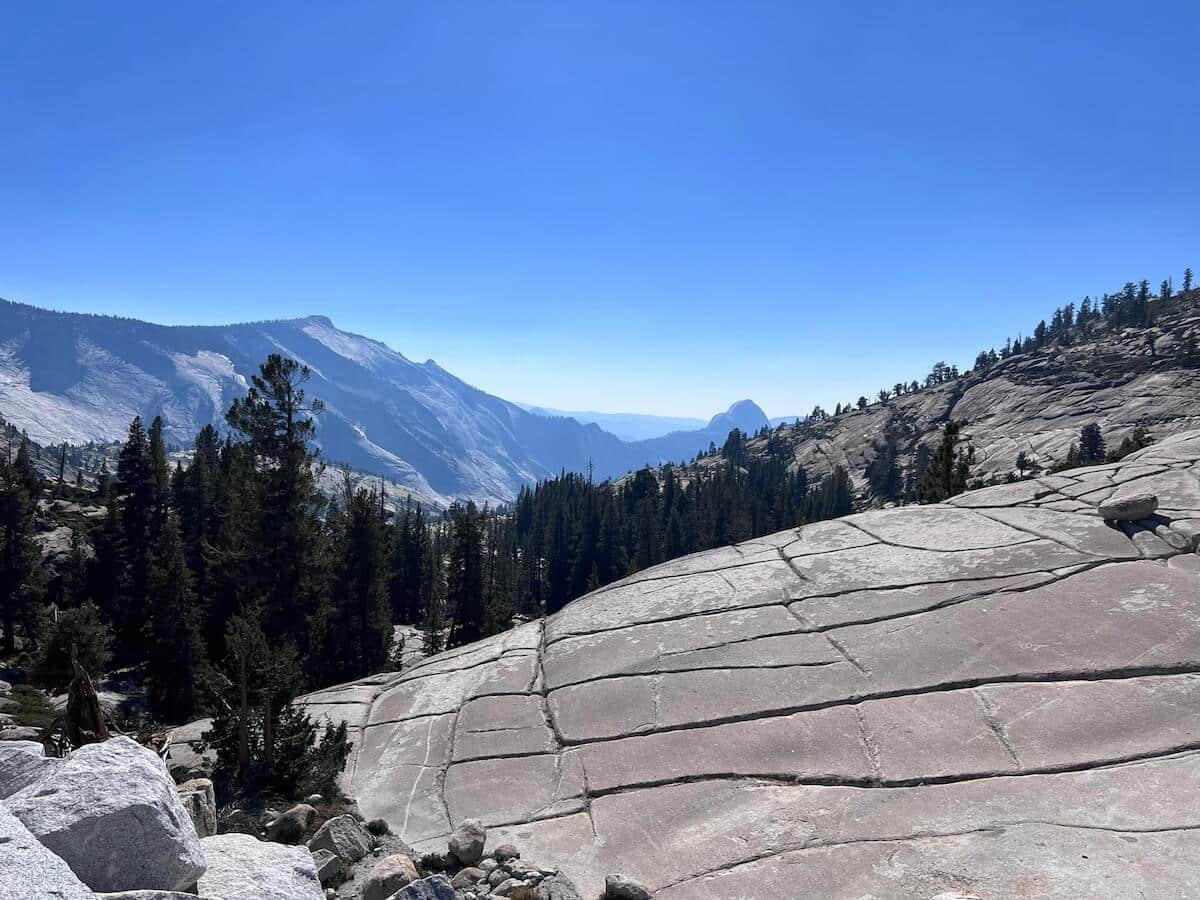
- Olmsted Point – A scenic viewpoint along Tioga Road offering sweeping views of Tenaya Canyon, and the glacially polished granite landscapes. You can even climb up on one!
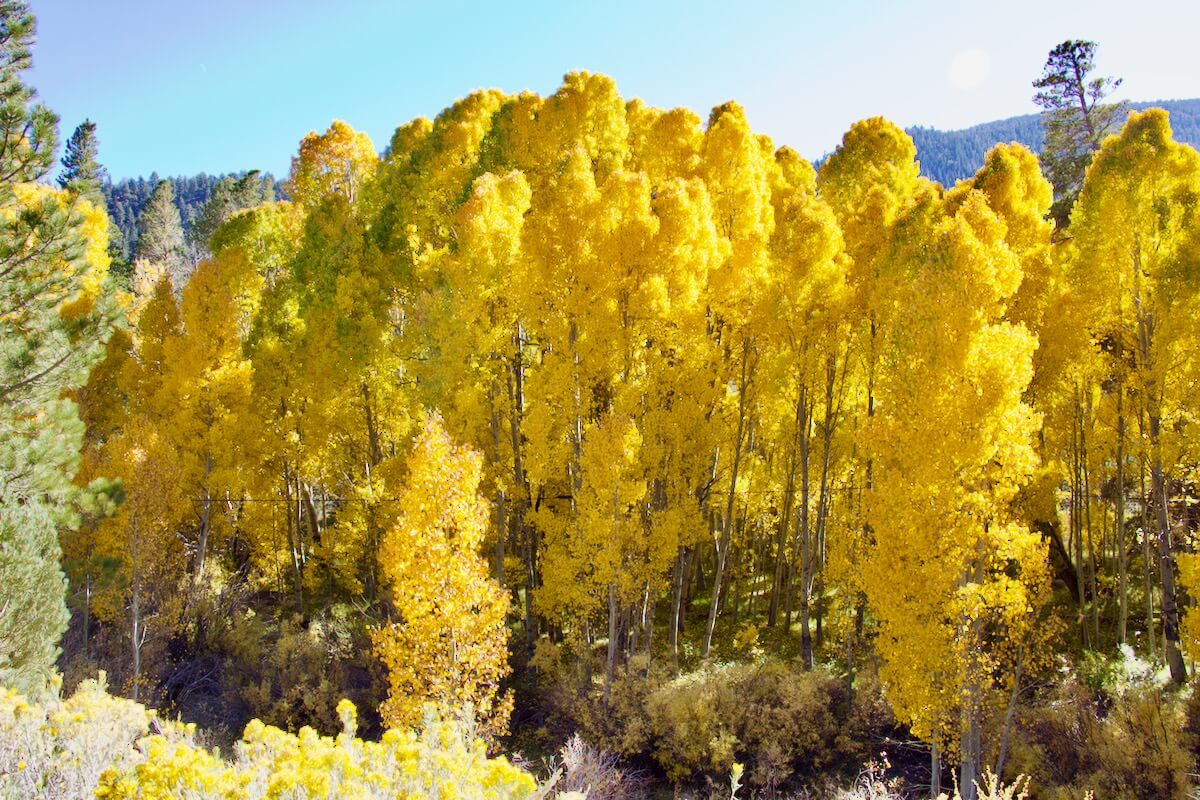
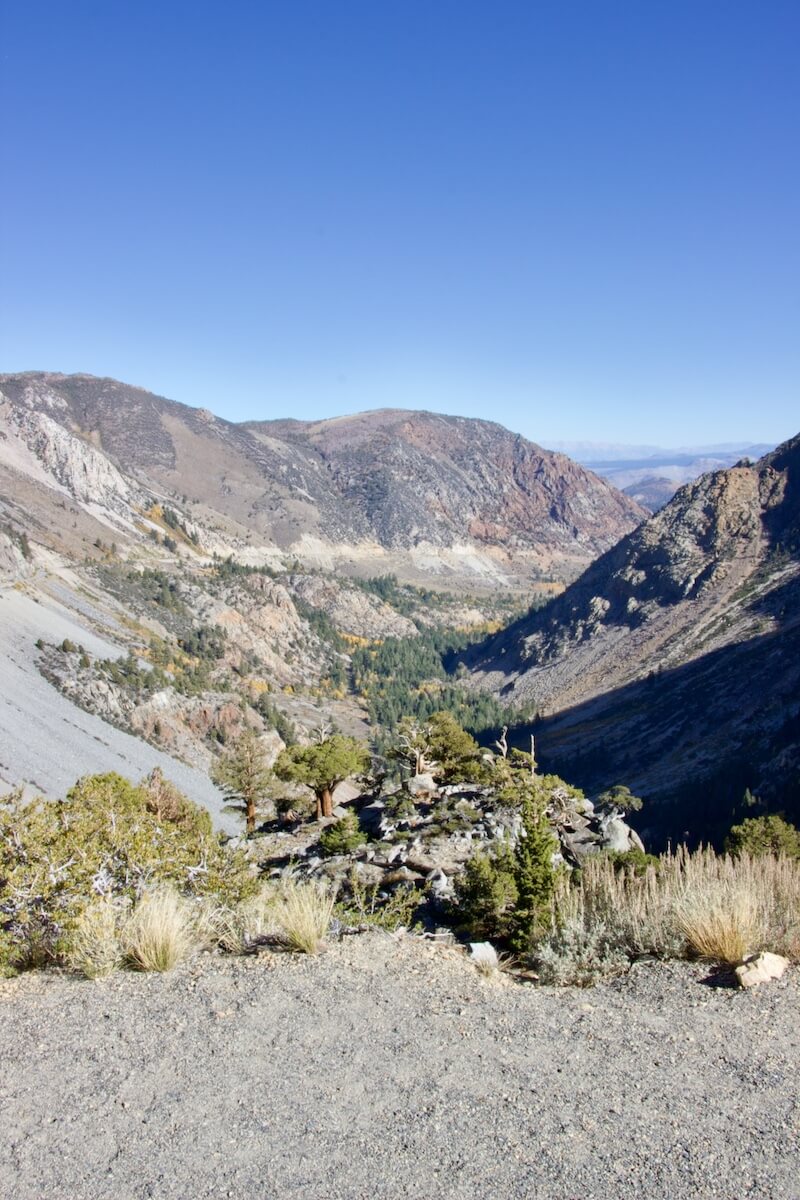
- Tioga Pass – The highest highway pass in California, connecting Yosemite to the Eastern Sierra with stunning alpine scenery. Don’t miss a stop at Mono Lake on the other side!
Or you can do many of these on your way to Tioga Pass if, like us, you choose to leave the park by this route.
Make it part of a bigger road trip to Death Valley, Joshua Tree and the PCH for an incredible California road trip!

Yosemite FAQ
If you love travel, and love road trips? Get your inspiration here!
All photos & content © Hannah Henderson and may not be used without permission (sharing this blog post is fine, though!). Images shot with a Canon DSLR T3i Rebel + Canon EF-S 18-135mm f/3.5-5.6 IS STM; and an iPhone.